


Decor
Decorating a Victorian Terrace: How to Style Period Features for Modern Living
October 13, 2026
Walk down almost any street in a Midlands town — Leicester, Worcester, Stoke, the older edges of Birmingham — and you will pass rows of Victorian terraces. Narrow frontages, bay windows, a band of red brick, sometimes a stripe of blue. They were built in their thousands between the 1840s and 1900 as sensible houses for ordinary families, and what makes them interesting now is the detail that survived the twentieth century: cornices, ceiling roses, deep skirtings, sash windows, the occasional marble fireplace.
The aim is not to restore them to 1890. Nobody wants to live in a museum with a boiler. The aim is to let the period features do the job they were designed to do — give a modest room height, light and a bit of dignity — while everything else in the room supports how you actually live.
Start with the bones, not the furniture
Victorian terraces are tall and thin. A typical front room might be three and a half metres wide with a ceiling close to three metres, which means the proportions are doing you a favour long before you buy a single cushion. Before you rearrange anything, spend a week noticing where the light falls, which wall feels cold, and whether the alcoves beside the chimney breast are earning their space or just collecting clutter.
Those alcoves are the most underused real estate in the house. A pair of low built-in cupboards, painted the same colour as the walls, hides the router, the board games and the shoes while keeping the chimney breast as the room's natural centre. Keep them shallow — 350mm is plenty for most storage — and stop them below the height of the picture rail so the wall above stays quiet.
Fireplaces: make the focal point earn its place
If your fireplace is still there, treat it well. Original cast-iron inserts with tiled cheeks and a slate or marble surround are the single strongest period detail in the room, and they usually only need cleaning, a new fireback and a decent set of fire irons.
If it has been ripped out, resist buying the biggest surround you can find. In a narrow room, an oversized mantel crowds the walls either side and makes the chimney breast look like it is wearing a coat two sizes too big. Measure the opening first, then look for a reclaimed insert in proportion — roughly a third of the chimney breast's width is a good starting point. A simple slate or painted timber surround will sit comfortably with almost any scheme, whereas heavily carved mahogany can fight everything around it.
Practical points matter more than the look. Have the chimney swept and the flue checked before you light anything, and get a registered installer to fit a wood burner. If you live in a smoke control area, only authorised smokeless fuels or exempt appliances can be used, so check with your local council before you buy. Where an open fire is not an option, a cast-iron insert filled with a cluster of candles or a large dried arrangement still gives the room its anchor.
Cornicing, ceiling roses and skirtings
Plasterwork is the detail people notice without knowing they have noticed it. Original cornice that has been skimmed over with thick emulsion loses all its shadow, which is the whole point of it. Paint cornices and ceiling roses in matt emulsion, not gloss or eggshell, and the profile will read properly again.
Cracks and small losses are easy to live with and easy to patch: rake out the loose material, fill in thin layers with a fine filler, and sand gently with a sponge rather than paper. If a section is missing entirely, a plasterer can run a matching profile in situ using a template made from an intact piece. Where the cornice is gone for good, lightweight mouldings from a period supplier are a reasonable substitute — choose a profile that suits your ceiling height. Deep, ornate cornice in a room under 2.7 metres looks heavy; a simple cove is usually the better answer.
Keep the picture rail if you have one and use it. Hanging art from the rail rather than drilling the wall above is how these rooms were meant to work, and it lets you move pictures around without a trail of holes.
Sash windows: light, draughts and how to dress them
Sash windows are the reason these houses feel generous. They are also the reason the front room is cold. Restoring them is almost always better than replacing them, both for the look of the house and for the street, but check first: if you are in a conservation area or a listed building, you will need permission from your local planning authority before making changes.
Draught-proofing does most of the work for very little money — brush or bubble seals in the staff beads, a bead of silicone where the frame meets the masonry, and a decent curtain. Many terraces originally had internal folding shutters in the window reveal. If the hinges and recesses are still there, reinstating them is one of the best things you can do: they keep heat in at night, cut street noise, and look wonderful folded back by day.
Hanging curtains in a tall room
Hang the pole or track as close to the ceiling as the cornice allows, and extend it 150–200mm past each side of the window. Full-length curtains that just brush the floor make the room taller; sill-length ones cut it in half. Keep the fabric simple — a linen or wool in a colour that relates to the walls — and let the window opening stay as clear as possible.
Mixing antique and modern without a clash
Period rooms go wrong in two directions: everything matching and slightly fusty, or everything new and the architecture left stranded. The middle ground is more comfortable and far easier to live with.
- Let one or two period pieces lead. A fireplace, a stripped pine chest, a Victorian button-back chair. These are the anchors; everything else can be quiet.
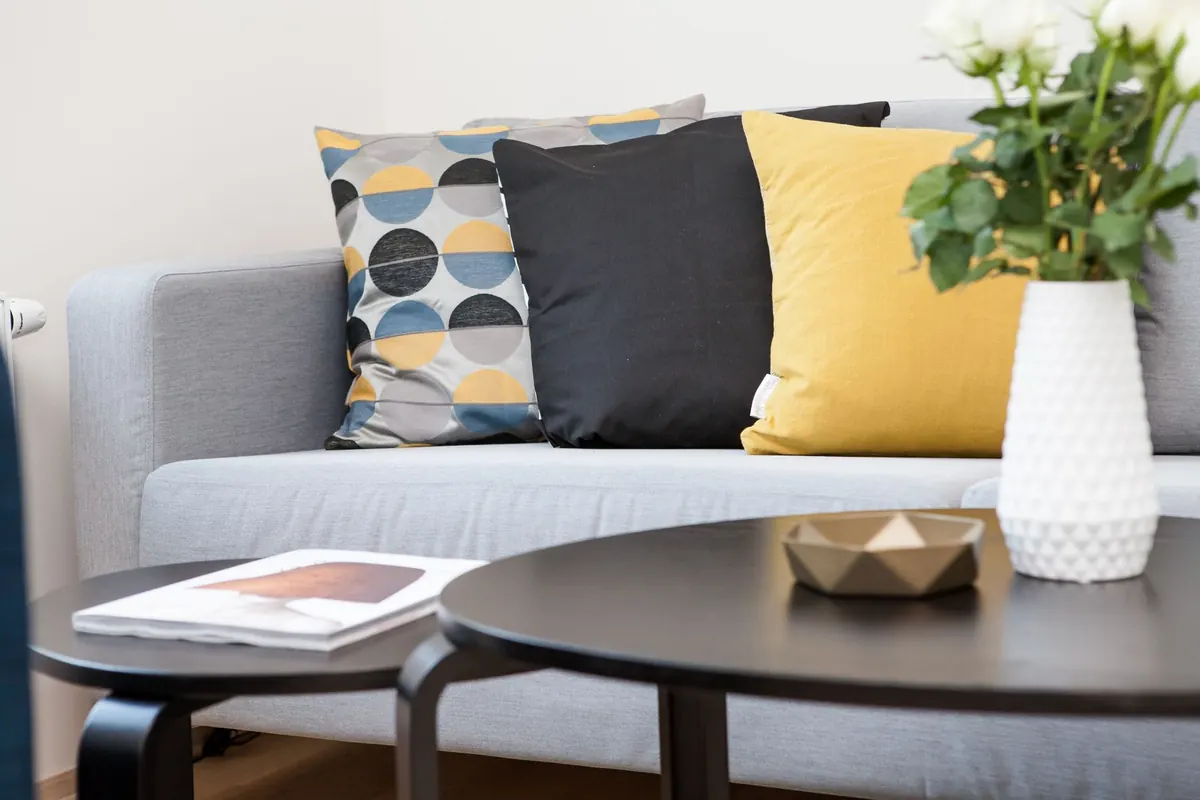
- Keep modern pieces simple in silhouette. A plain linen sofa, a slim metal floor lamp and a low, boxy coffee table will sit happily beside ornate plasterwork.
- Repeat your metals. Brass on the fire surround, brass on a door handle, brass on a lampshade fitting — a small repeated detail reads as intention rather than accident.
- Use colour to hold it together. Pick two or three shades and let the antiques and the new pieces share them.
- Leave space. Victorian rooms were often crowded, but you do not have to be. Empty wall above the sofa and clear surfaces let the cornicing and the fireplace be seen.
Strong, saturated colours work well in these houses because the rooms are tall and the windows are large. North-facing rooms tend to want warmer tones, south-facing rooms can take cooler, deeper ones. Paint the woodwork a shade darker than the walls rather than brilliant white and the whole room settles down immediately.
Living with it: a sensible order of work
Do it in the right sequence and the house will tell you what it needs.
- Sort the fabric of the building first — chimney, windows, damp, draughts.
- Repair and repaint plasterwork and woodwork before you decorate around them.
- Live in the room for a month with borrowed or existing furniture and see where you actually sit.
- Then commission built-in storage, buy the big pieces and finish with lighting and textiles.
- Buy reclaimed pieces when you find them, but only if you have measured the gap they are going into.
One room at a time, done properly, beats a whole house done quickly. These houses have already survived a century and a half of other people's decorating decisions. They are patient, and they reward patience.
Photo: Azizi Co / Pexels
Related posts
More stories you’ll love reading